What is the proper preparation of installing a Linear style drain for hot mop shower pans?
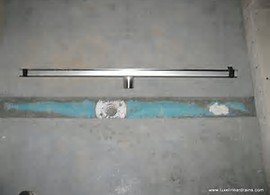
When planning on a linear or Infinity style drain the same theory is applied as any other hot mop drain. The only change is that instead of a small square or circle for the drain top, we will be replacing that with a longer and thinner linear drain top. the water will still be draining into the same style hot mop drain body. Let’s start with a picture of what a typical linear assembly looks like. If you notice the drain hub is what’s normally seen with most hot mop drain style’s, the concept is the same with a top and bottom flange. we will continue with more in our next post.
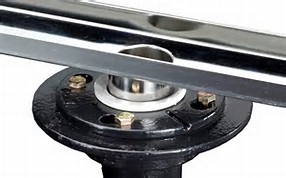
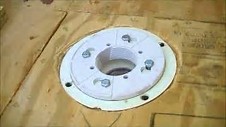
How do you set the drain hub assembly? I have attached an image of a drain hub that’s used for the process of hot mopping a shower pan. The linear drain top is left aside in a safe place not to be damaged or scratched. It will not be inserted until the after the hot mop is done. Remember that linear drains can be adjusted up or down for slope adjustment near 1″ of adjustment. The point here in this post is to focus on how the assembly bottom flange is set flush with the subfloor as it always should be when hot mopping a shower pan.
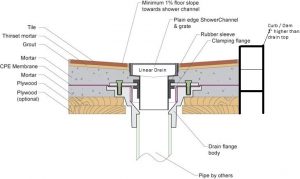
Here is a Diagram of the build up process from the beginning of the hot mop to the finish tile. This will show you how and where all the layers are applied in a standard shower pan. There is no difference in process of linear drain top or standard drain top except for looks. If there’s any questions go ahead and post in our topic and ask!
The hot mop pan has been done and now it’s off to the mud bed before setting tile. The linear drain has been set to its desired height and the tile contractor will build his mud bed according to the thickness of the tile or stone to finish flush, or what I like to recommend 1/8″ above the finish linear drain or any shower drain to avoid standing water around the shower drain! Here’s a good example of the mud bed process:
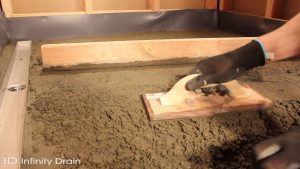
Ready for the thinset and tile now that the mud bed has been finished and the desired slope is perfected in the shower pan.
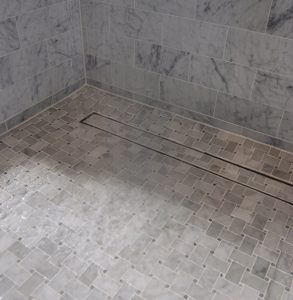
We’re sad that the hot mop has been hidden but here is the end result of what a finished shower pan and linear style drain looks like.
Next topic we’ll go over a curbless or recessed shower to achieve a flush entry shower from the bathroom.
Don’t be afraid to register and post any questions to our posts. Also feel free to ask questions or suggest new topics!


how do you clean out the drain if it ges clogged with hair or something?
Most style drains are designed to have access by removing the finish drain grate. This would allow access into the main drain pipe.